How to Stick Fabric to Wall - Complete Guide
- levelupprint604
- Oct 24, 2025
- 6 min read

Updated: Oct 25, 2025
Transforming your walls with fabric is an affordable and creative way to add texture, warmth, and personality to any space. Whether you’re decorating a rental home, setting up an event backdrop, or simply looking for a damage-free design solution, learning how to stick fabric to a wall can make all the difference. In this guide, we’ll explore the best adhesives, step-by-step hanging methods, and maintenance tips to help you achieve a flawless, professional finish without harming your walls.
What Can I Use to Stick Fabric to a Wall?
Types of Adhesives for Fabric Walls
The best adhesives for fabric walls depend on how long you plan to keep the fabric up and what kind of wall surface you’re working with. Popular, wall-safe options include:
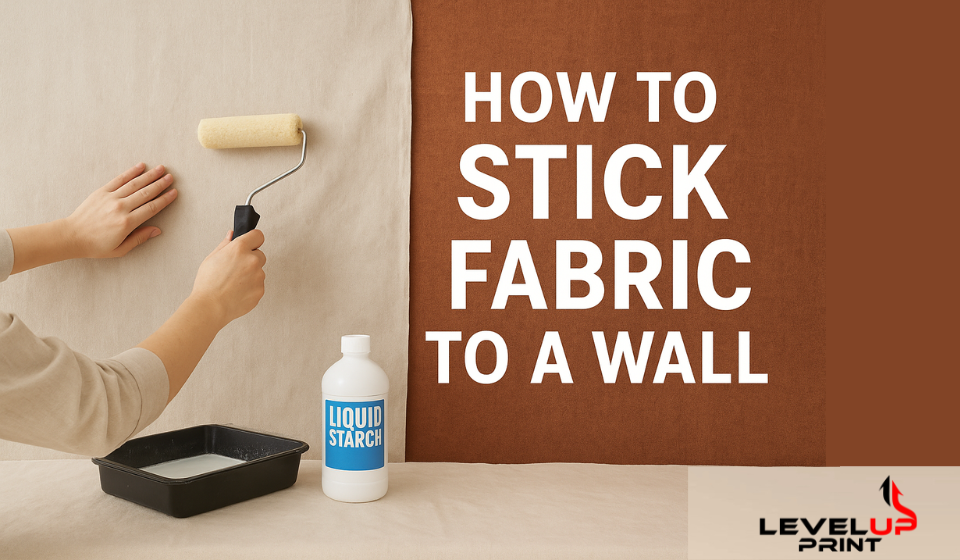
Liquid starch – A renter-friendly adhesive that’s easy to apply and remove. Once dry, it holds the fabric tightly to the wall and can be reactivated with warm water when you’re ready to take it down.
Spray adhesive – Ideal for temporary setups like photo backdrops or event displays. Always test first, as some sprays may stain delicate fabrics.
Double-sided tape – Suitable for lightweight fabrics and smaller sections. Use painter’s or wall-safe mounting tape to avoid residue.
Hook-and-loop fasteners (Velcro) – Great for easy removal or repositioning. Attach the hook side to the wall and the loop side to your fabric.
If you’re using starch, it’s one of the most trusted DIY methods for renters. The process, verified by multiple home improvement sources and decorators, leaves no permanent marks and provides a smooth, wallpaper-like finish.
Choosing the Right Fabric for Better Adhesion
Not every fabric sticks to the wall equally well. Lightweight cotton or linen works best since it absorbs adhesives evenly and stays flat against the wall. Heavier fabrics such as velvet, canvas, or upholstery materials may not adhere smoothly or can peel off over time.
To ensure the best results:
Prewash your fabric to remove sizing and wrinkles.
Avoid stretch fabrics—they can distort after drying.
Choose fabrics with a tight weave and matte texture to avoid bubbling.
Patterned or printed fabrics also make excellent feature walls, giving the illusion of wallpaper but with the freedom to remove or change styles easily.
Preparing the Wall and Fabric Before Application
Preparation is key to achieving a professional finish.
Clean the wall – Remove any dust, grease, or debris using a damp cloth and mild detergent. Allow the surface to dry completely.
Iron the fabric – Smooth out creases to ensure even adhesion.
Cut excess edges – Trim selvage edges and leave an extra inch on all sides for adjustment.
Protect your floor – Lay a drop cloth to catch starch or adhesive drips.
When both surfaces are clean and dry, your fabric will stick more securely and look neater once applied.
How to Hang Fabric on Walls Without Nails
Using Command Strips or Hook-and-Loop Tape
Command strips and hook-and-loop fasteners are among the best solutions for those who want a completely nail-free installation.
Apply the adhesive side of the strip to the wall.
Press the corresponding strip or Velcro piece onto the back of the fabric.
Smooth the fabric carefully to prevent air pockets.
This method allows for easy repositioning and removal without damaging paint—perfect for renters or temporary setups like event backdrops.
Tension Rods and Frames for a Seamless Look
For a more structured or framed appearance, use tension rods or wooden frames.
Mount a rod between two walls and drape fabric evenly across.
For a wall section, stretch fabric over a lightweight wooden frame or canvas stretcher bars before hanging.
This technique creates a tailored, gallery-style look that’s ideal for accent walls or photo backdrops, while keeping your wall completely unharmed.
DIY Draping Techniques for Temporary Décor
If you want a quick decorative touch—say, for a party or seasonal setup—fabric draping is your best friend. You can use removable adhesives, painter’s tape, or decorative clips to hang the fabric loosely. It’s an effortless, zero-damage solution for renters and event stylists.
How to Starch Fabric onto a Wall
What You Need – Materials and Tools
From the verified method used by DIY decorators, here’s what you’ll need:
Lightweight cotton fabric
Liquid starch (commercial or homemade)
Paint roller and tray
Utility knife
Scissors and measuring tape
Step ladder and drop cloth
Tacks or painter’s tape for positioning
Step-by-Step Process to Apply Fabric with Starch
Measure and cut the fabric – Measure the wall’s height and width. Add a few inches to allow for trimming.
Position the fabric – Use painter’s tape or tacks to temporarily hold it in place.
Apply starch to the wall – Pour liquid starch into a paint tray, and with a roller, coat the wall section where you’ll apply the fabric.
Smooth the fabric onto the wall – Working from top to bottom, press the fabric onto the wet starch, smoothing out wrinkles as you go.
Apply starch over the top – Once the fabric is positioned, roll another layer of starch over it until fully saturated.
Let it dry completely – Allow 12–24 hours to dry. It will tighten and smooth as it sets.
This method is reliable, reusable, and produces a wallpaper-like finish without damaging your wall.
Drying and Finishing Touches for a Clean Look
After drying, remove the tape or tacks used for positioning. Trim excess fabric using a utility knife along the baseboards and ceiling edges for crisp, clean lines. If bubbles or ripples appear, lightly dab with a damp sponge and smooth them out.
How to Remove Starch-Applied Fabric Later
Removing starch-applied fabric is surprisingly simple.
Soak a sponge in warm water and apply it to the fabric.
Wait a few minutes for the starch to loosen.
Gently peel the fabric from the wall.
This method leaves no residue or paint damage, making it ideal for renters or seasonal décor changes.
What Adhesive Does Not Ruin Walls?
Best Wall-Safe Adhesives for Fabric Projects
If you’re hesitant about starch, other wall-safe adhesives work equally well:
Painter’s tape – Great for light fabrics and temporary backdrops.
Removable mounting putty – Ideal for small fabric sections.
Command strips – Hold larger panels securely without leaving marks.
Velcro fasteners – Allow for easy removal and reuse.
Always check product labels to ensure they are safe for painted or plaster surfaces.
Testing Adhesives on a Small Area First
Before committing to a large wall, test your adhesive on a small corner. Apply a patch of fabric for 24 hours, then remove it to ensure no residue or discoloration occurs. This step prevents damage and gives you confidence in your chosen method.
Common Mistakes to Avoid When Using Adhesives
Applying adhesive to a dusty or oily wall—it won’t stick properly.
Using heavy fabric that pulls away under its own weight.
Skipping the drying period, which can lead to bubbles or sagging.
Forgetting to trim excess fabric before starch or adhesive dries.
Avoiding these common pitfalls will keep your walls smooth and damage-free.
Long-Term vs. Temporary Adhesion Solutions
For long-term projects, starch or Command strips offer durability without wall damage.
For temporary displays—such as photo booths or seasonal décor—opt for double-sided tape or Velcro that can be removed quickly.
Tips for Maintaining Fabric Walls
How to Clean and Dust Fabric Walls Safely
Use a soft-bristle brush, lint roller, or handheld vacuum on low suction to remove dust. Avoid wet cleaning methods unless you plan to take down and reapply the fabric.
Preventing Fading and Moisture Damage
Keep fabric walls away from direct sunlight or humid areas like bathrooms. For extra protection, use UV-resistant or pre-treated fabric to prevent fading over time.
Refreshing or Reapplying Fabric Over Time
If your wall fabric loses tension or gets dirty, you can remove, wash, and reapply it using the same starch or adhesive technique. Always re-starch the wall and allow it to dry before reapplication.
Creative Fabric Wall Décor Ideas
Accent Walls and Backdrops
Fabric walls make stunning accent features behind headboards, in dining rooms, or at events. You can choose patterns that complement your furniture or highlight a color theme.
Using Patterned Fabric for a Statement Look
Bold prints, florals, or geometric patterns can transform a plain space into a statement area. For creative inspiration, brands like Level Up Print encourage homeowners to experiment with unique textures and prints that bring vibrancy to their interiors.
Seasonal or Themed Fabric Decorations
Switching fabrics seasonally—like linen in summer and cozy plaids in winter—refreshes your décor easily and affordably. Use removable adhesives for a quick change without repainting or permanent décor shifts.
Conclusion
Adding fabric to your walls is one of the simplest ways to instantly elevate a room’s design—without the commitment of paint or wallpaper. By using the right materials and techniques, you can create a smooth, stylish, and easily removable wall covering that reflects your personality. Whether you opt for starch, double-sided tape, or command strips, the key lies in preparation and care.
Experiment with colors, patterns, and textures. Draw inspiration from professional printers and decorators like Level Up Print, who show how thoughtful design choices can transform everyday spaces. With a bit of creativity and the right adhesive, your walls can become a work of art that’s both beautiful and renter-friendly.


Comments